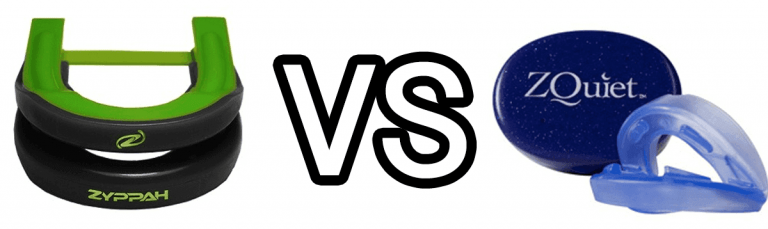
Ripsnore Fitting Process
Ripsnore uses the same boil-and-bite technique as many other mandibular advancement anti snoring mouthpieces (MADs) to achieve a custom fit. The only difference is that because this device starts out a little bulkier than other so it makes the fitting price a bit more challenging. Fortunately, you can reheat to repeat the process three to five times, so you have a little wiggle room there for errors.
 Things You Need
- Pot or ban
- Two bowls
- Water
- Ice
- Tongs
- Stopwatch app on phone
- Ripsnore device
Fitting Process
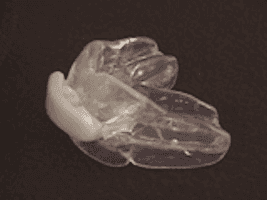
Remove the device from the package and give it a gentle cleaning. Although it has been packaged, you just never know how products are handled before you get them. The website states that Ripsnore only needs to be rinsed after use, but I would advise something a little more than water.
Many MADs can’t be cleaned with toothpaste, so even though there is nothing that says to not use toothpaste, I wouldn’t recommend it. A mild dishwashing soap is great. That is what I used the week I did a trial with the device.
Take a few moments to get comfortable with the mouthpiece. Figure out which side is up and down, and you should practice putting the device in your mouth and biting down with your lower jaw extended forward (similar to the process with Zyppah). You don’t want to be just figuring out what you are doing after the mouthpiece is already heated. Once you are comfortable with it, you can move forward with the fitting process.
- Bring a small pot of water to a boil and pour it into a bowl (preferable glass or ceramic).
- While it is heating, prepare a separate bowl with cold water and ice.
- Use your tongs (or a slotted spoon) to submerge the device for 30 seconds.
- Remove your Ripsnore and let it cool for just a few seconds. Always make sure it feels like a comfortable temperature before putting it in your mouth. Burns on your jaw and tongue are not pleasant to deal with.
- When you are ready, place your Ripsnore in your mouth with the curved side up. Extend the lower jaw forward and bite down firmly.
- Use your fingers to press on the outside of your jawline and use your tongue to push against it from the inside. This will ensure the device fits your jawline as tight as possible. It can also be helpful to create suction by sucking the air out.
- Hold the device in your mouth for about 30 seconds.
- Immediately place it in the bowl of ice water for at least one minute. This will speed up the hardening process.
- Once cool, remove the spacer from the airflow port and test the fit. If needed, repeat the process.
I discuss some of the pros and cons of the fitting process and overall mouthpiece in my Ripsnore review. The SnoringHQ Team is confident you can find a solution to alleviate snoring (I personally did) so please check our home page or our list of best snoring devices.