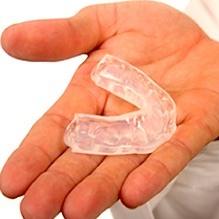
Snore Guard Fitting Process
Snore Guard is a one-size device that requires a boil-and-bite process to achieve a custom fit. Since you need a prescription in the United States there is a good chance that your dentist will want to take care of the fitting for you.
 If they do not handle it, you will have no problem taking care of it yourself. It is quite easy. Plus, sometimes, a snoring mouth guard needs to be fitted more than once to get it to that “just right” position. Rather than have to make another appointment with your dentist you will be able to fit your device on your own.
All you need to complete the fitting is a small pot, bowl, slotted spoon, and a watch or app with a second hand.
- Begin by bringing a pot of water to a boil.
- Remove the pot from the heat.
- Place your Snore Guard in the water and set your timer for exactly three minutes.
- While the mouthpiece is soaking in the hot water, fill the bowl with cold water.
- At three minutes, remove the mouthpiece from the hot water and dip it in the cold water for only a second. You are not trying to cool it down, but you do want to cool any hot water left on it.
- Hold Snore Guard by the large white tray on top and center the device with your upper jaw. Using a mirror will help ensure that the alignment guide line is centered between your two front teeth.
- Force your upper teeth into the softened blue material. So, you will want to push down with your teeth while you push up on the device.
- Once your upper teeth are settled into the softened material, bite the lower teeth into the blue exterior ramp. The goal is to bite while your jaw is extended forward.
- After about a minute, carefully remove the device from your mouth and place it in a bowl of cold water. This will speed up the hardening process.
Once you are done, the mouthpiece should fit your mouth like a glove. If it doesn’t fit right, you can start the process again. Learn more about Snore Guard in my full Snore Guard snoring mouthpiece review.

