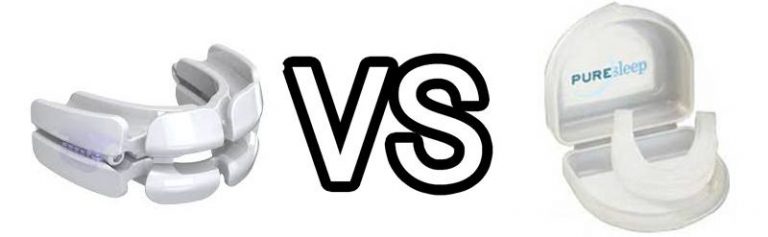
Fitting and Adjusting SnoreRx
The biggest attraction to SnoreRx Plus is its high level of customization (full review here). Not only do you fit the lower and upper trays to your teeth; you are also able to adjust the lower jaw placement by using 10 different settings that are each 1 millimeter apart.
As exciting as this is, some people are intimidated by these characteristics. Rest-assured that fitting and adjusting SnoreRx is easier than you think.
Custom Fit SnoreRx

To custom fit SnoreRx, you are going to need a pot, bowl, and a slotted spoon or tongs. Bring a pot of water to a boil and remove from heat.
Drop your snoring mouthpiece in there for 90 seconds and then remove using a spoon or tongs. Wait a few seconds for it to cool slightly, and then place in your mouth.
The hot water makes the oral appliance pliable. Bite down into the softened material for 30 seconds. This is enough time to create and leave an impression.
Remove your mouthpiece and place in a bowl of ice water for about a minute. The cold water will speed up the hardening process. Try your mouthpiece to make sure a deep impression of your teeth has been left.
This will help it fit better and make it comfortable to wear all night. If you are not happy with the results, you can repeat the process up to three times without compromising the integrity of the mandibular advancement device (MAD).
Adjusting SnoreRx
Hold the upper tray of your SnoreRx with two hands, and then use your thumbs to simultaneously push the sides forward. The tray will click one notch at a time. If you squeeze the sides of the tray at the same time the locking system will disengage, allowing the upper tray to be moved.
However, the makers of SnoreRx recommend moving the lower piece rather than the upper one. Always make sure you look at the Calibrator to make sure the setting is the same on both sides.